Then there’s also the issue of stability. Even users with sufficient specs have reported facing compatibility issues and bugs on Windows 11. So what options does someone looking to try out Windows 11 have? Our best recommendation is to use a Virtual Machine, or specifically, VMware. We’ve detailed the necessary steps for this in the guide below. You’ll need a few things before you can get started:
64 GBs of free disk space VMware Workstation 16 Player Windows 11 ISO
Step 1: Create New Virtual Machine
The goal of this section is to create a new Windows 11 VM. Here are the steps to do so:
Step 2: Setup VM Configurations
For Windows 10, the steps so far would suffice. But as stated, Windows 11 has some steep system requirements. So, you’ll need to modify some configurations to match the necessary specs. Here are the steps to do so:
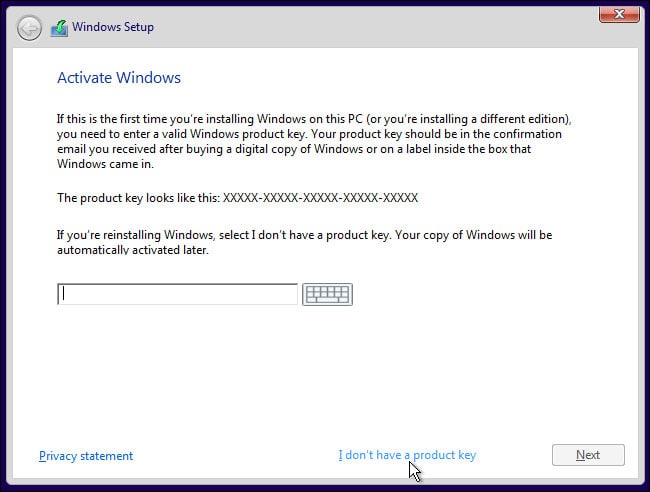
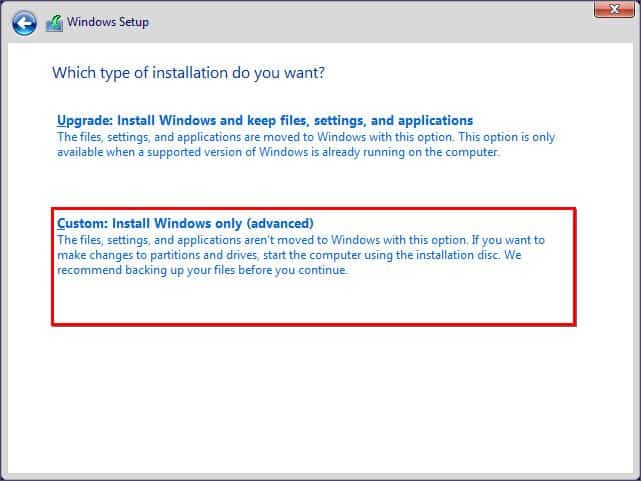
Step 3: Install Windows 11 in the VM
Now that the VM is set up with all the required specs, all that’s left is to install Windows 11. This process is the same as installing the OS normally. Here are the steps to do so: